Steps
STEP 1
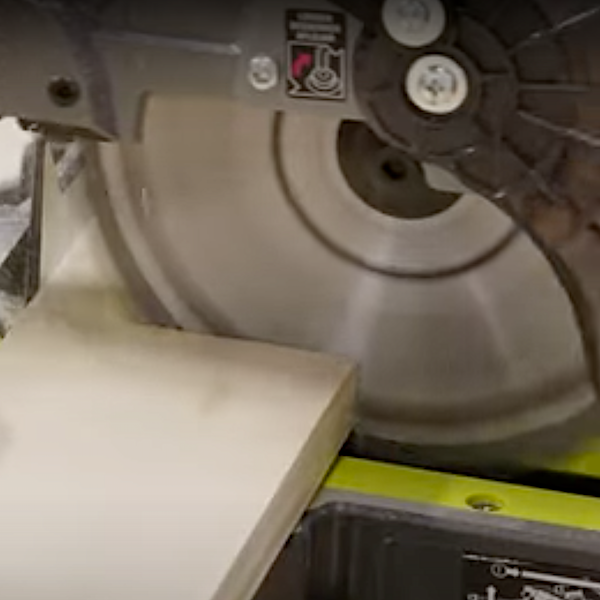
Cut all material using the Lumber Cut List and Layout Guide (found in the project plan PDF). The 1" x 4" board is to be cut to 14-1/2" in length and 3-1/2" in width. Some initial sanding can be done here.
Tools
Materials
STEP 2
Follow the Hole & Recess Layout Guide to mark where the (5) holes will be drilled. Use the drill press to create holes where the glasses will sit. The (4) glass recesses are to be 1/2” deep.
Tools
Materials

STEP 3
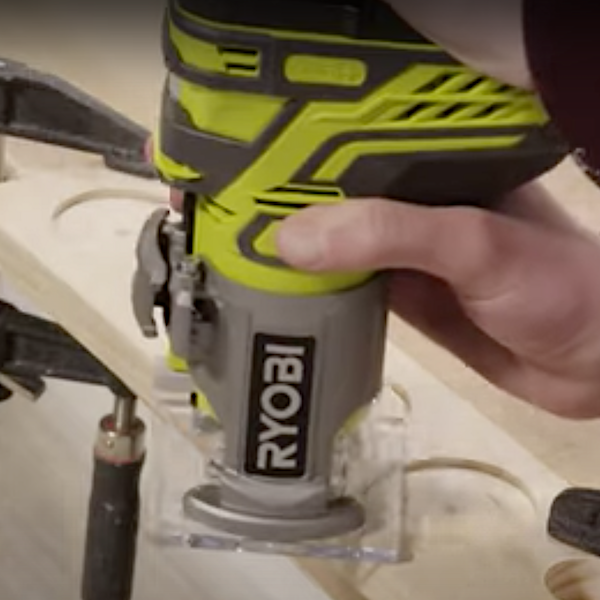
Using a router and 1/4" roundover bit, radius the outside edges and the thumb hole. Do this on the top and bottom of the board.
Tools
STEP 4
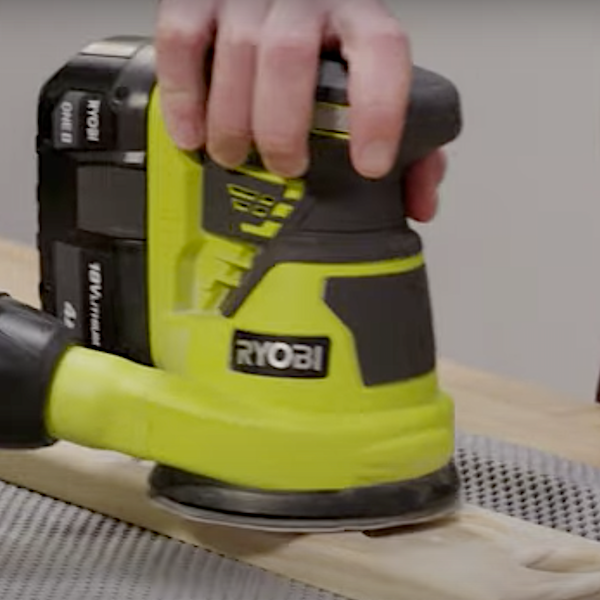
Sand and finish to your desire.
Tools
STEP 5
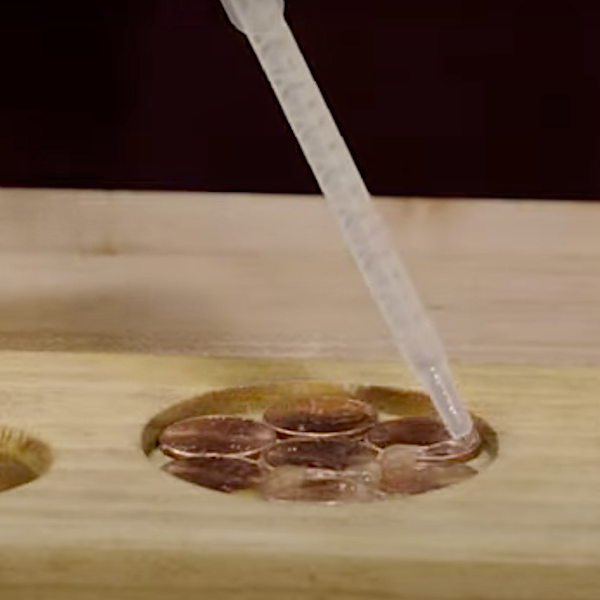
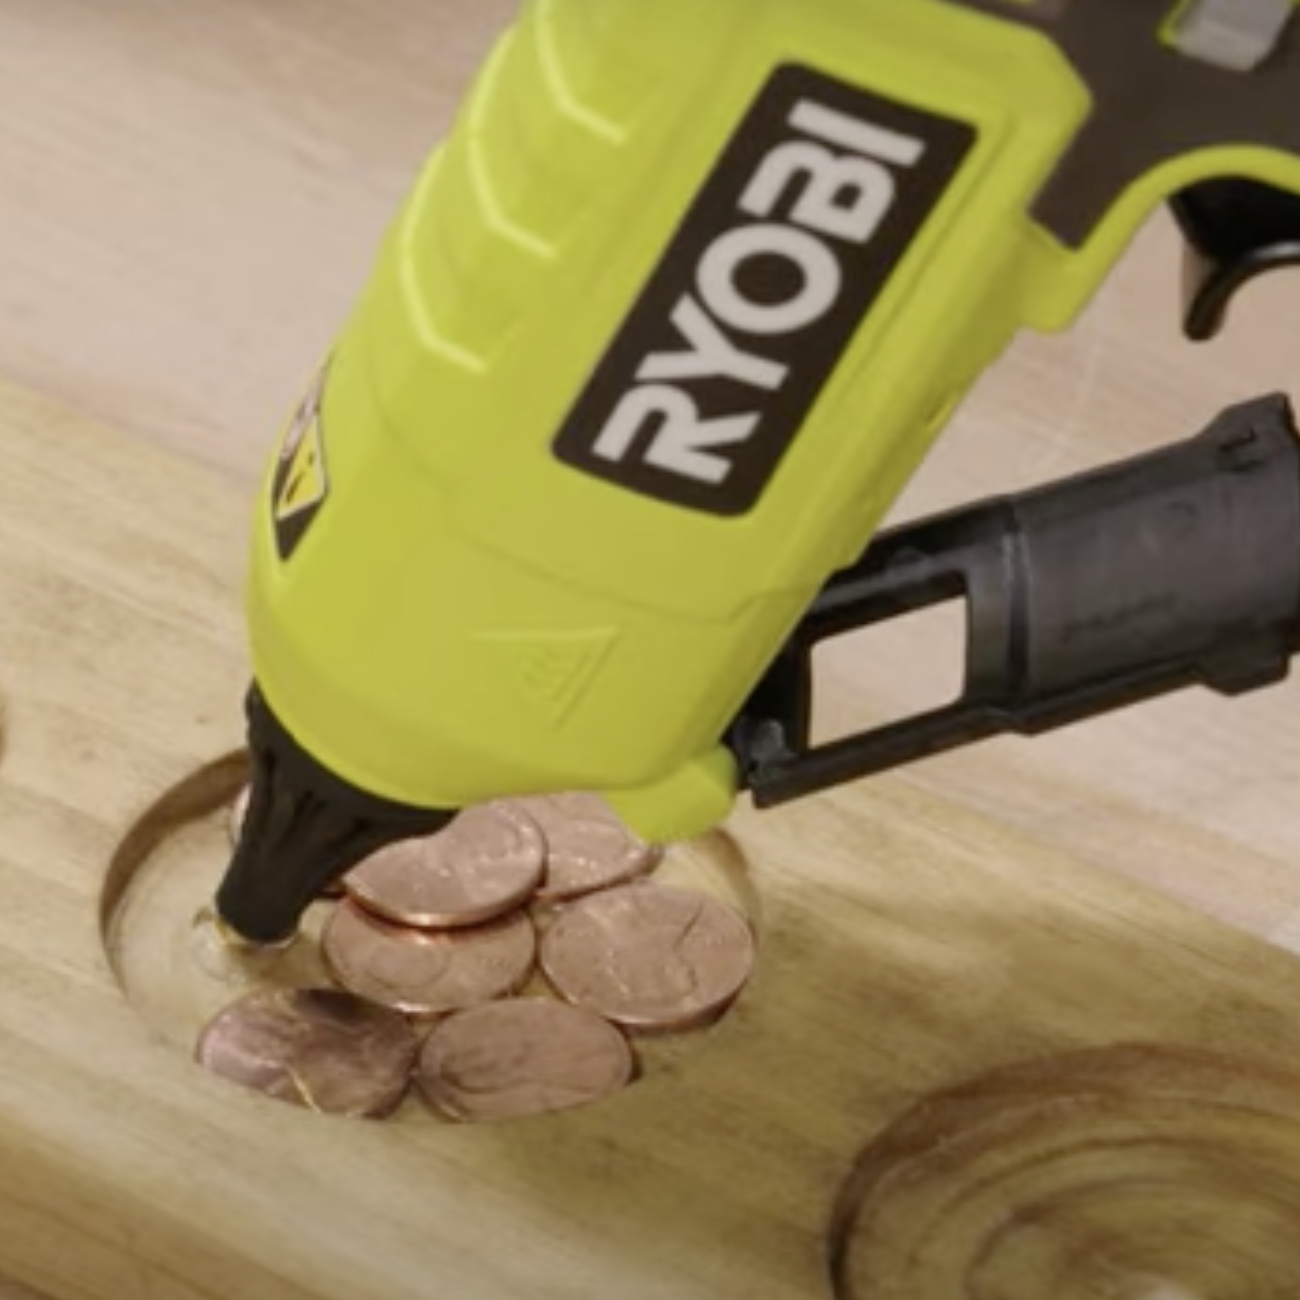
Arrange (7) pennies into each hole. Apply a small amount of glue under each penny to hold them in place.
Tools
Materials
STEP 6
Mix some quick setting epoxy according to the instructions on the bottle and pour it over the pennies. Only fill the holes 1/8” deep.
Materials