Steps
STEP 1
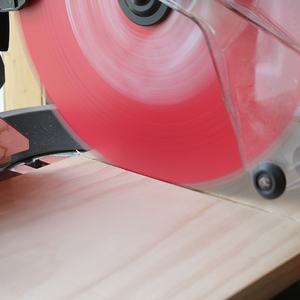
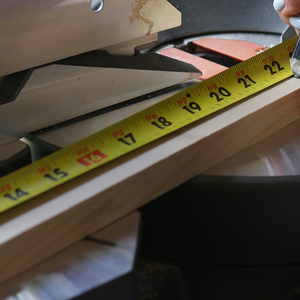
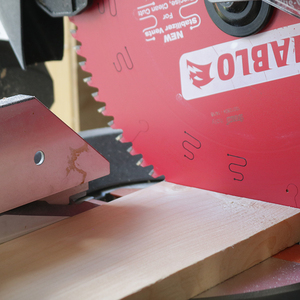
Cut your 1x10 board into a 24" long backer piece for your coat rack.
Tools
Materials
STEP 2
Cut your 1x2 board into a 21" long support board.
Tools
Materials
STEP 3
Cut your 1x5 board into a 21" long front panel.
Tools
Materials
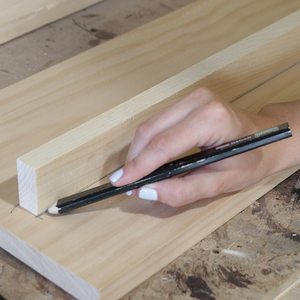
STEP 4
Use your 1x2 support board to mark the location of your shelf. This piece will be added 6" from the top of the board.
Tools
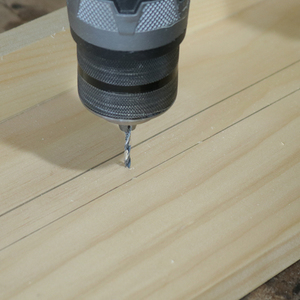
STEP 5
Pre-drill pilot holes into your back board. This will help with attaching the support beam without splitting the wood.
Tools
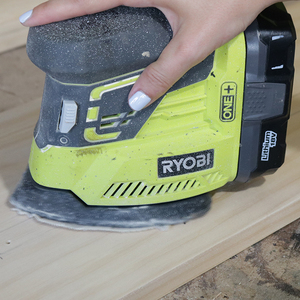
STEP 6
Optional: Sand & stain all of your pieces prior to attaching them together. You can also do this step last.
Tools
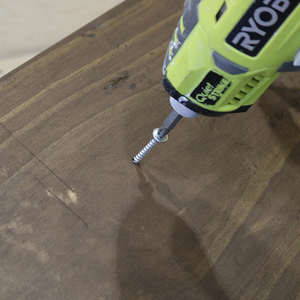
STEP 7
Attach your support beam to the coat rack backer board by screwing 1 1/4" wood screws into the back of the piece. Add wood glue to the front for a stronger bond.
Tools
Materials
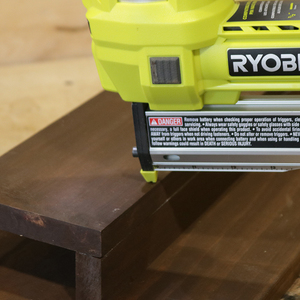
STEP 8
Nail & glue the front panel to your support board.
Tools
Materials
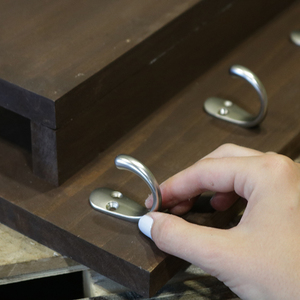
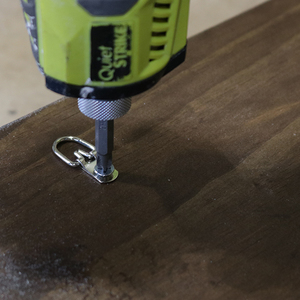
STEP 9
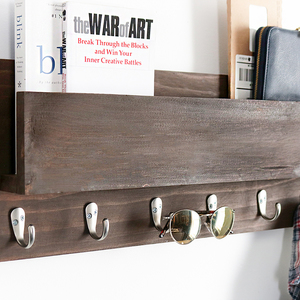
Add coat hooks to the empty space below the mail shelf.
Materials
STEP 10
Attach hooks to the back of the coat rack for hanging.
Materials
STEP 11
Hang your coat rack on the wall!