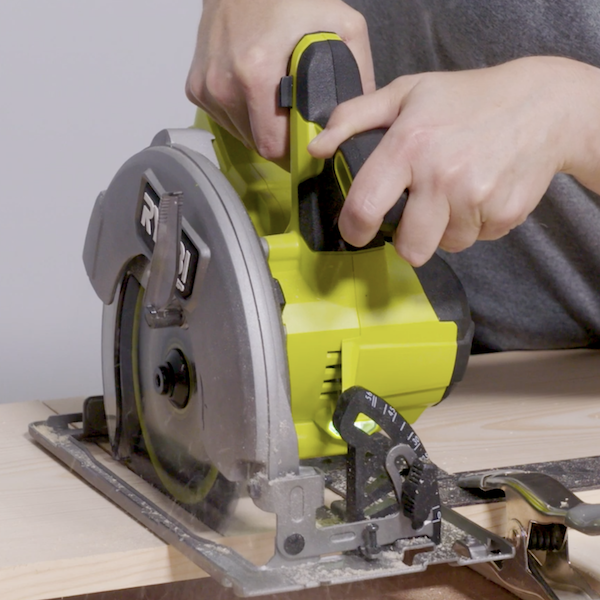
Steps
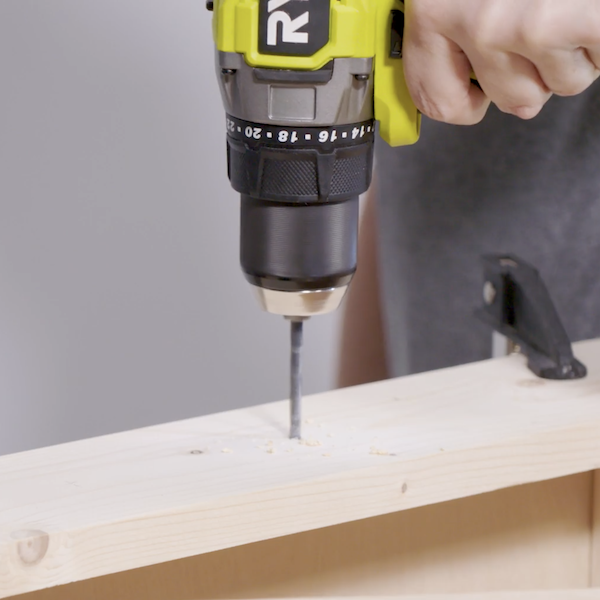
STEP 1
Cut out all material using the Lumber & Sheet Cut Layout Guide. Drill the holes as indicated on Page 5.
Tools
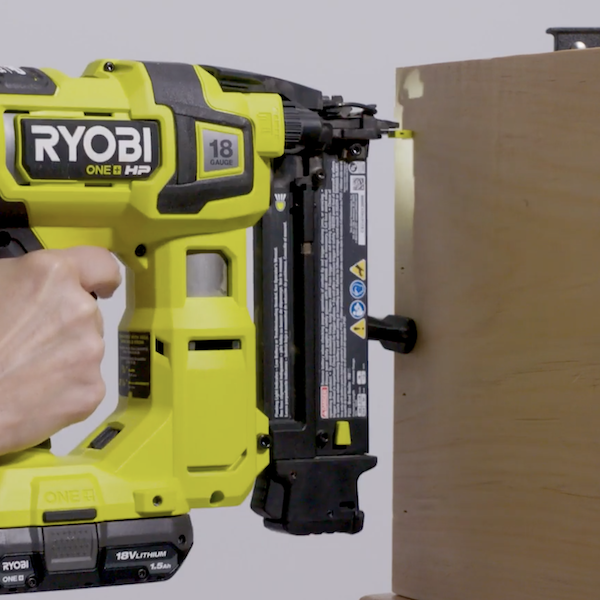
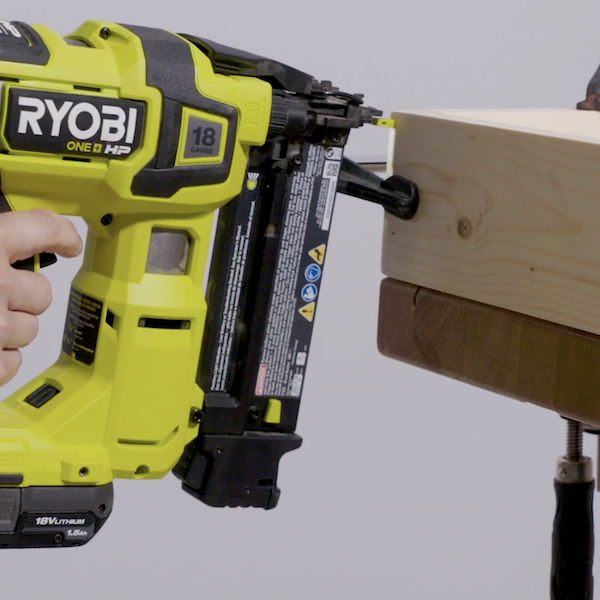
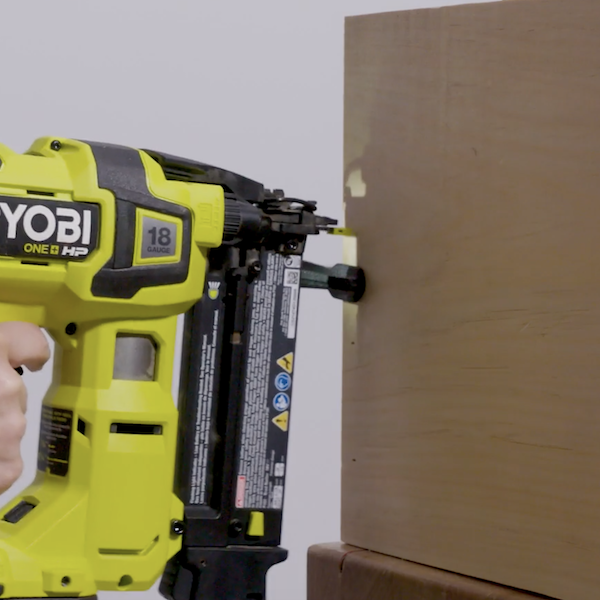
STEP 2
Align the 11-1/4” side panels to the 20” back panel as shown in the diagram. Make sure the side panel with the hole is on the right. Glue and nail from the backside.
Tools
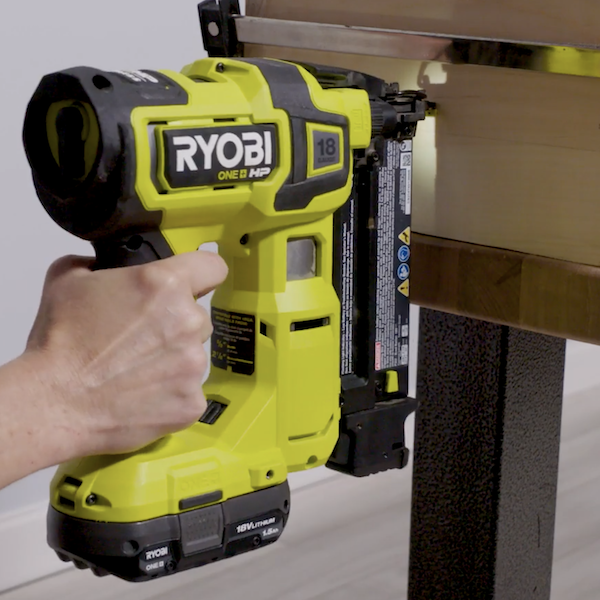
STEP 3
Align the lower drawer support 2-1/2” from the bottom. Glue and nail together.
Tools
STEP 4
Align the upper shelf 6-7/8” from the bottom. Attach with glue and nail together.
Tools
STEP 5
Slide the other end of the 3/8” dowel into the hole on the side panel.
Tools
STEP 6
Slide the other end of the dowel into the hole of the partition board. Glue and nail the partition board 9-1/2” from the ride side.
Tools
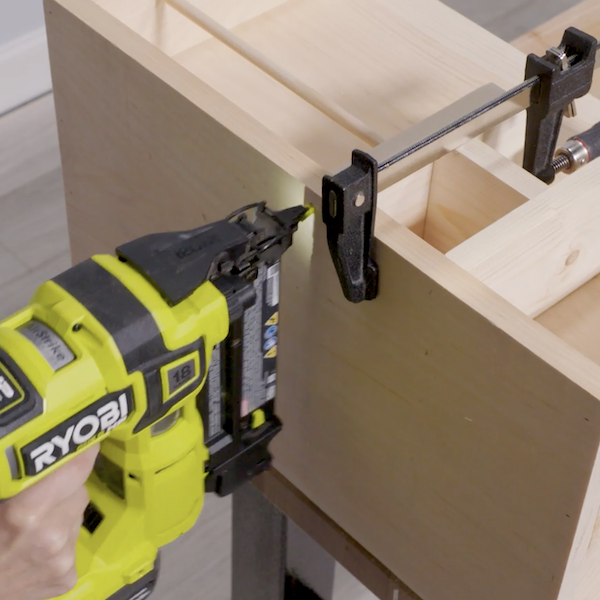
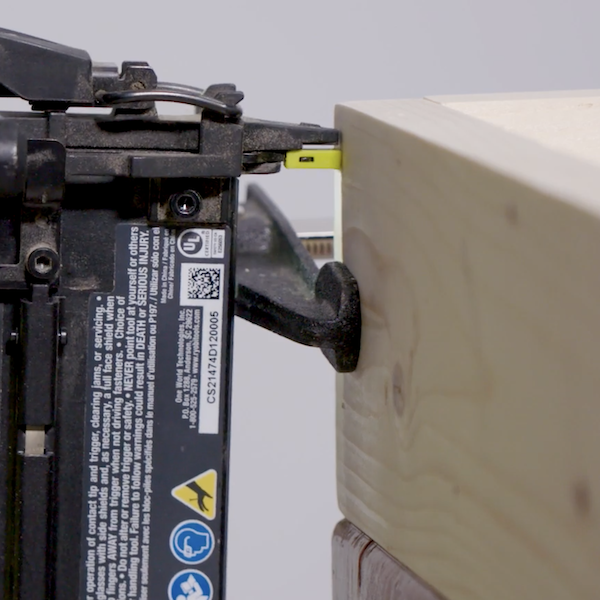
STEP 7
Measure 3” from the back board as shown in the diagram. Glue the divider to the bottom and side
Tools

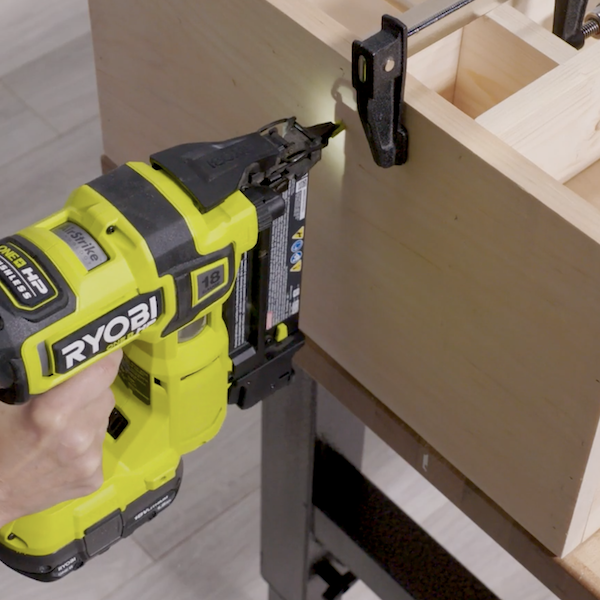
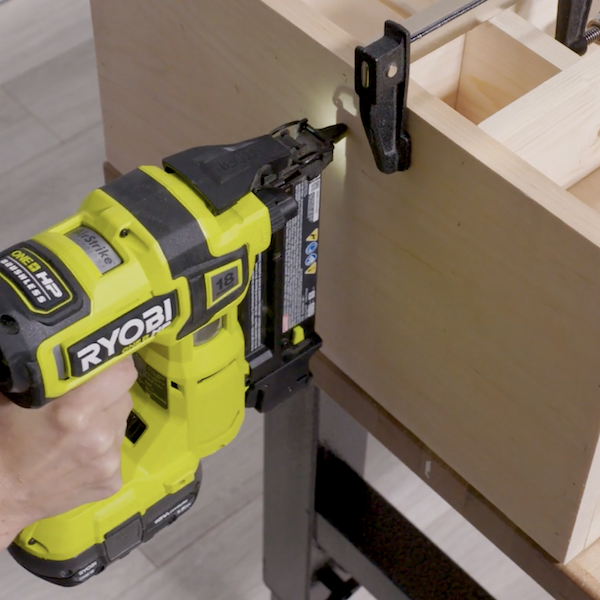
STEP 8
Add the second partition along the divider. Glue and nail the partition to the back and bottom.
Tools
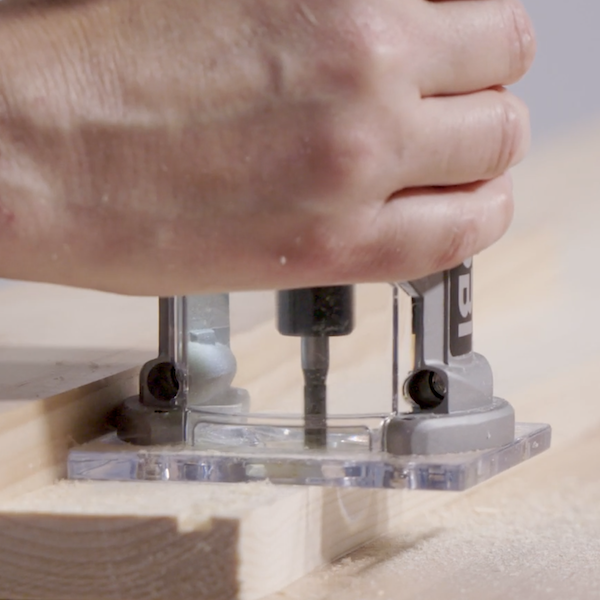
STEP 9
Using the router and a 1/2” straight bit, cut a 1/4” x 1/4” rabbit into one edge of the drawer panels. The rabbit will be located at the bottom inside edge.
Tools
STEP 10
Align both side panels to the drawer bottom. Glue and nail together.
Tools
STEP 11
Align the front and back panels to the drawer bottom. Glue and nail together.
Tools
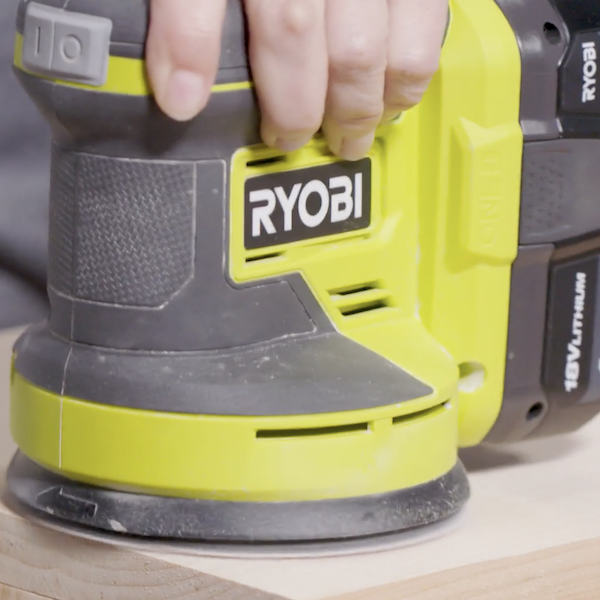
STEP 12
Sand the cabinet and drawer.
Tools
STEP 13
Add handle to the drawer.
Tools